Dark Souls 1 Beginner Guide: Character Creation & Northern Undead Asylum
Universe Dragon
Dark Souls is not an easy game in the slightest. There is no clear guide, no questline tracker, no map, and barely any explanation for what you're supposed to do. If you're looking for a clearly-written, in-depth (100% human) guide on the first area of the game, you've come to the right place. Let's start at the beginning.
Character Creation
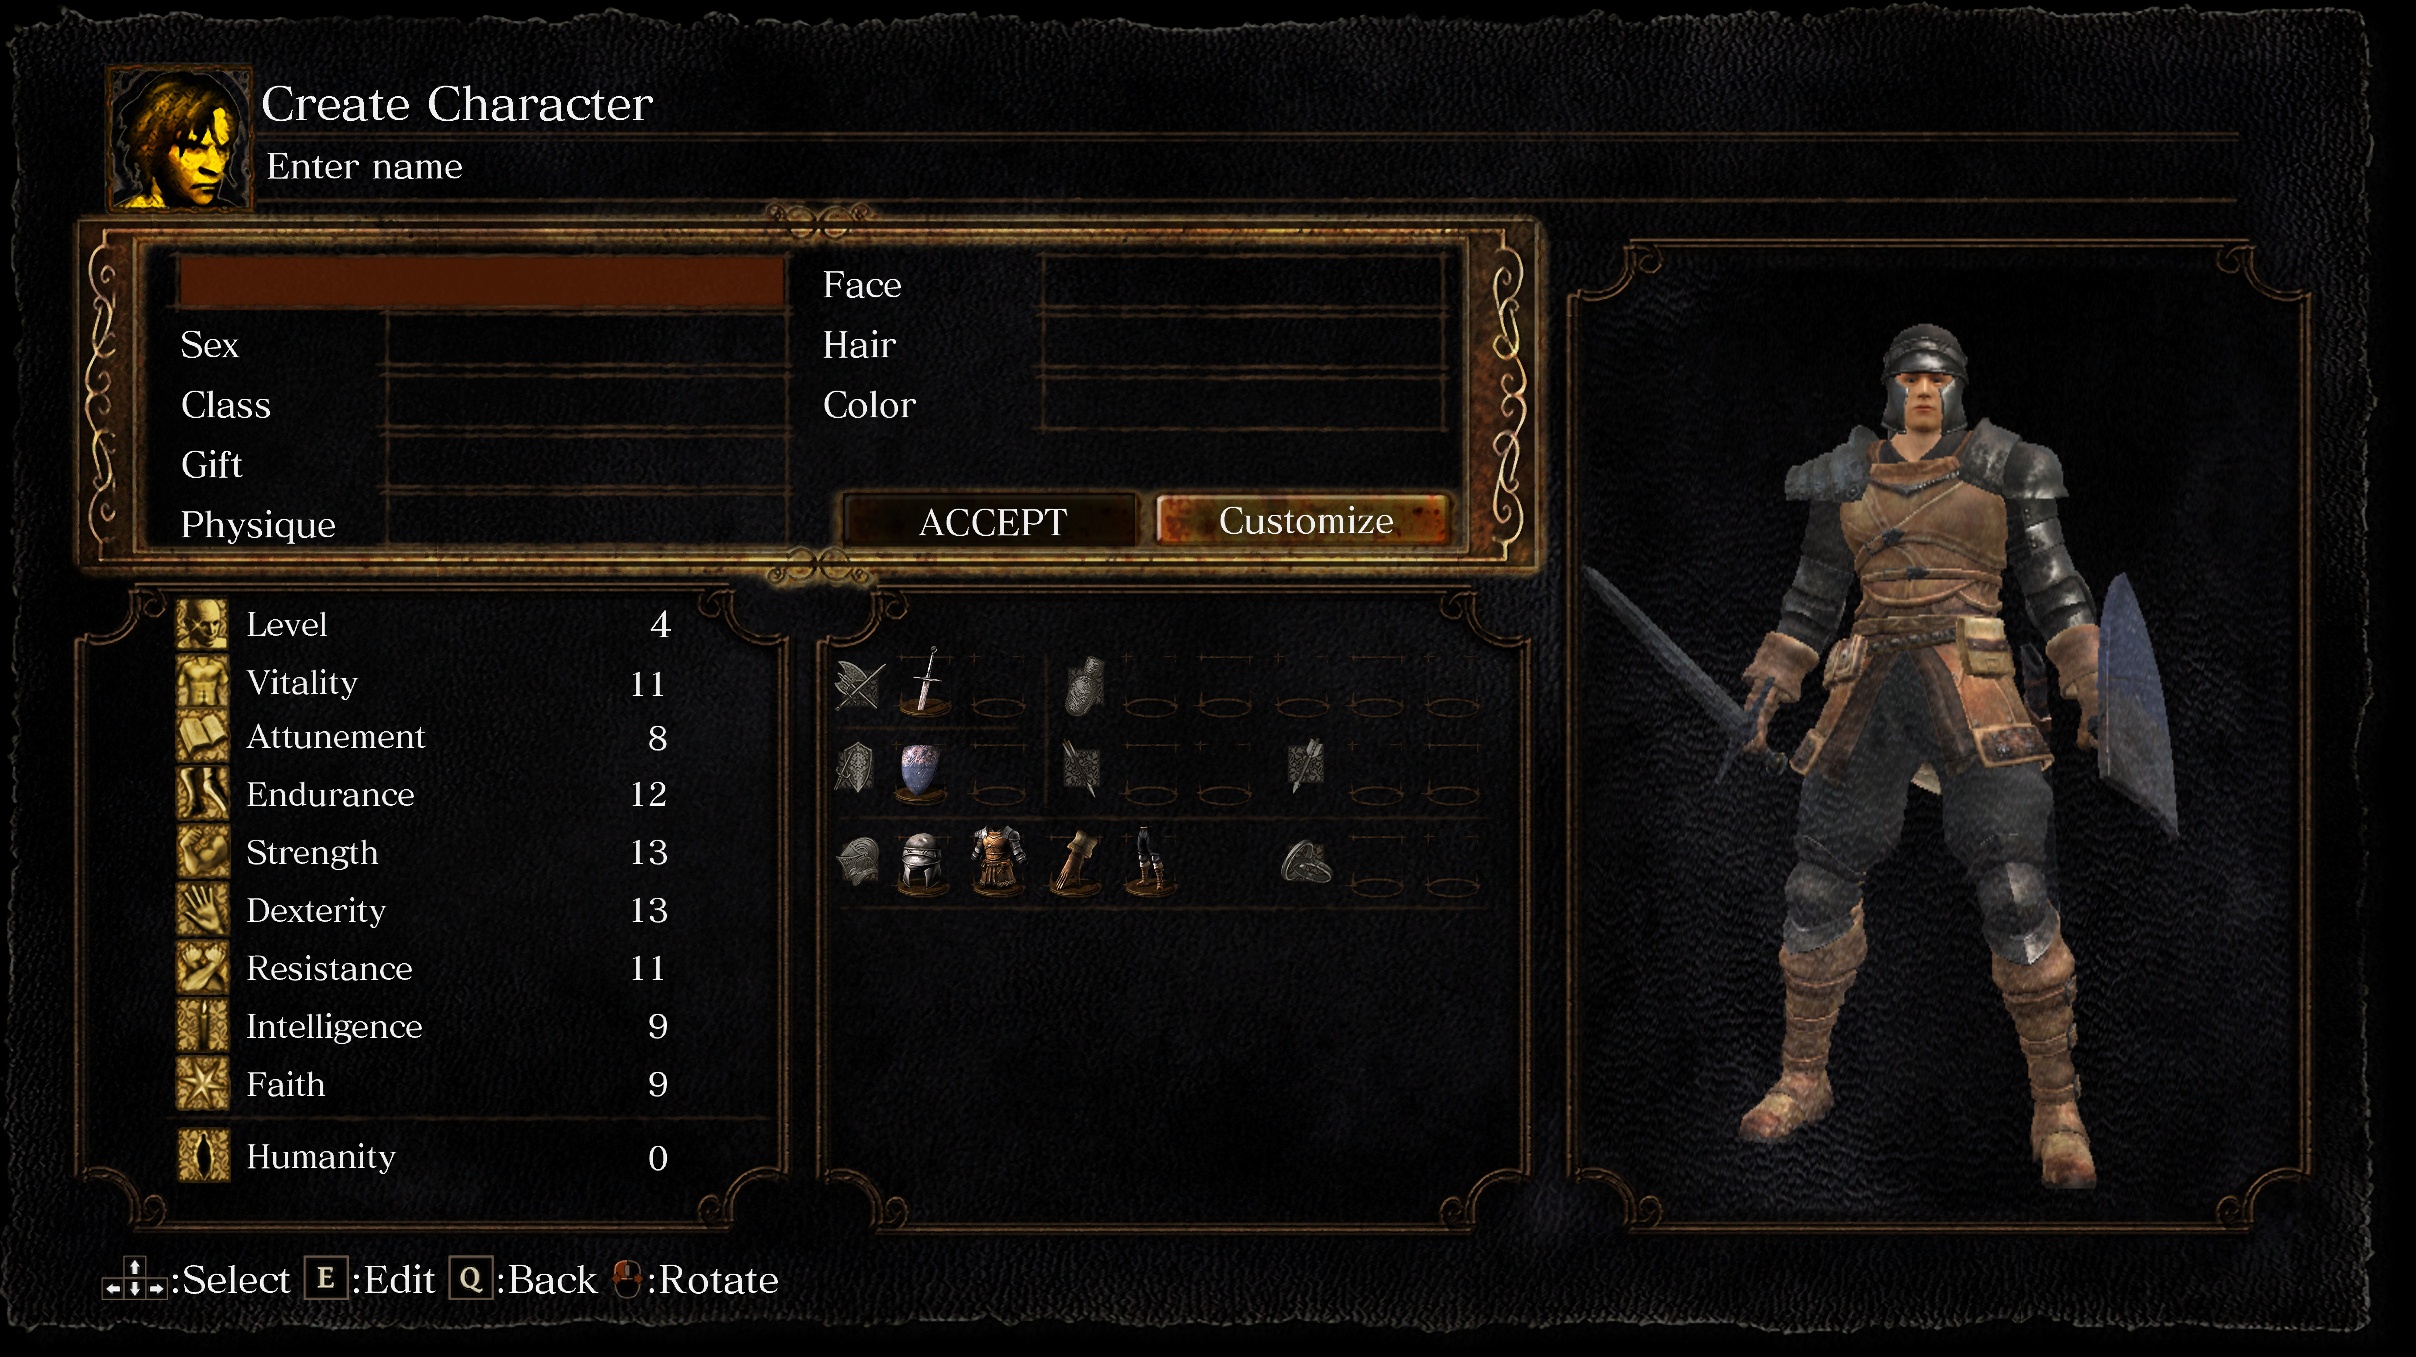
There are quite a few steps in character creation, and I'll be mentioning the essential ones. For any not mentioned, you may choose whatever you like, as it has no affect on your character. Everything picked here can be obtained later in the game.
Everything here is required; the game will not let you start unless everything is filled out.
Classes
There are ten classes in Dark Souls, and I'll give my recommendations followed by a more detailed list of them all. My top three picks for a new player are as follows: #1: Knight A very solid class, heavy armor and a strong weapon, though the slower dodge roll speed (a core mechanic) can upset some players. Always a safe bet if you're unsure. (This is, of course, also always my pick, even though I've played through the game several times) #2: Sorcerer A good class for the more experienced, allowing players to take advantage of the overpowered magic in the game, though very weak in melee in the start. #3: Warrior A more balanced version of the Knight with higher roll speed and slightly higher stats overall.
This pick does NOT lock you into anything for the rest of the game. It is just a starting point.
Once you've picked your class, feel free to move on to the next section. If you want a full list (optional, purely for more detail), here it is below: Warrior: A swordsman with decent stats and high Strength and Dexterity (stats affecting your ability to hold and deal damage with weapons). Knight: A more heavily armored but slower class with very high Strength and Vitality (health). Wanderer: A swordsman with little armor but very high Dexterity. Thief: A rouge class with extremely high Dexterity. Bandit: A bulkier Thief with high Strength and Endurance (stamina). Hunter: A more balanced class with high Endurance. Sorcerer: A spellcaster with extremely high Attunement (determines how many spells you can cast) and Intelligence (determines the power of your spells). Pyromancer: A flame variant of the Sorcerer with more balanced stats. Cleric: A miracle version of the Sorcerer with high Faith (determines the power of your miracles). Deprived: An unarmored class with completely balanced stats.
Starting Gift
Moving on, we next have your starting gift! This is minor but still worth mentioning. There are 8 starting gifts, and just like before, I'll give my top picks followed by a complete rundown. Here are my top picks: #1: Tiny Being's Ring This ring increases your health by a small amount (5%) which can be vital in a difficult game like this. It is equipped by default. (This is what I picked on my first time) #2: Master Key More of an item for experienced players, this key allows you to skip certain sections of the game. Useless if you picked the Thief class, as they already receive it by default. #3: Black Firebomb Also more of an item for experienced players, these 10 bombs are typically used for skipping the first boss.
Just like the previous selection, this doesn't permanently affect anything, as all of these items can be found later in the game.
As before, here is the full list below: Divine Blessing: 3 consumable items that cure all status effects and heal you to full health when used. Black Firebomb: 10 powerful bombs that inflict fire damage on enemies when thrown. Twin Humanities: A consumable item that gives you two Humanity (used for increasing the amount of healing items you get at checkpoints or summoning help for bosses). Binoculars: Used for viewing far away places up close. No combat use. Pendant: No effect. Seriously, it does nothing. Master Key: Allows you to open certain doors, skipping at least one boss. Useless if you picked the Thief class. Tiny Being's Ring: Gives you a health boost. Old Witch's Ring: Allows you to communicate with an NPC (non-playable character) you'll meet much later. The rest of the customization is up to you!
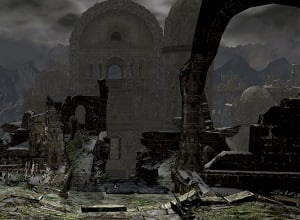
Northern Undead Asylum
Now we're getting to the fun part! I'll give you a quick, spoiler-free checklist while going through the Northern Undead Asylum, and you can stop there unless you want step-by-step instructions. - Read all the orange text on the ground - Kill any enemies you see (remember to check if it's an enemy by first by pressing the target lock-on button, R3 on PlayStation) - Run from the boss the first time you encounter it - Pick up as many items as you can - Look around every corner That's a good summary of what you need to do, but if you want a complete walkthrough, keep reading!
Northern Undead Asylum Full Walkthrough
After the intro cutscene, walk over to the glowing blue orb on the fallen body. Interact with it to pick up the Dungeon Cell Key. Use the key to open the door. From there, walk down the hallway, read the text, and defeat the two Hollows standing by the wall. They're not hostile, and serve as good practice for normal and strong attacks.
Unless you're sure you're going for a Strength build (focusing on the Strength stat for slow and heavy but powerful weapons), I don't recommend using strong attacks.
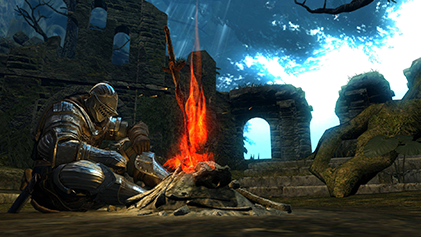
You'll get 20 souls every time you kill a Hollow. Souls are an essential currency in Dark Souls, being used both to level up (increasing your character's stats), and to purchase items from characters selling them. Go up the stairs and learn to lock on to the Hollow in the pool of water (this is important, as accidentally attacking NPCs can negatively affect game progress). Kill it and move into the next room. Climb up the ladder, walk into the pavilion, and light the Bonfire. Bonfires are essential in Dark Souls as they are both ordinary checkpoints and one of the only safe respites from the hellish environment around you. However, they also respawn all the enemies you've killed when you rest at them, so keep that in mind. Later in the game, you will unlock the ability to equip spells, organize your inventory, and even fast travel at these Bonfires. Rest at the Bonfire, then open the large double doors ahead of you. Walk up to around where the orange writing is on the ground. If you get the chance to look at it, it says "Get away!" Which is quite appropriate, as by the time you've read this message, the Asylum Demon has jumped down from the rafters above.
Do not attempt to fight this boss now. Your weapon (likely the Broken Straight Sword) deals next to no damage to it. If you have Black Firebombs, you can engage it, but I still don't recommend this, especially for new players. Instead, run to the left (your left) of the arena and through an open gate. The gate will slam shut behind you. Keep going down the stairs until you encounter and rest at a Bonfire. Congratulations on your survival and welcome to Dark Souls. Continue through the watery room. Before you enter the next corridor, keep this in mind: there will be a Hollow with a bow shooting arrows at you. Sprint down the corridor, hugging the left wall until you find a room on the left. In here will be your shield, along with how to equip it. Press the button it shows (start button or end key), go to the arms icon, go down one slot to your first shield slot, select it, select your shield, and equip it. Close out of the menus, then hold up your shield while moving down the hallway. As you approach the end, the Hollow will run away. Here you can pick up your class's main weapon. If, for example, you picked the Knight, you will receive the Broadsword. Equip it like you did the shield, except in your right hand. Continue to the left up the stairs and kill the archer. Traverse through the fog wall to enter the second floor.
Usually, a fog wall means you are about to enter a boss arena.
Turn to the right and continue until you reach stairs going up and down. If you want, you can go down, opening up a shortcut from the Bonfire to the second floor. I recommend this if you're worried about dying. If you do so, remember to rest at that Bonfire so that you respawn there when you die. Go up the stairs, and try your best to dodge out of the way of the cannonball. If you can't, don't worry, it won't kill you. Slay the Hollow who rolled it towards you, then go through the wall the cannonball broke through. There, you'll meet Oscar of Astora, the same warrior who threw you your cell key, now injured by the Asylum Demon. Listen to his story and say yes, and you'll obtain the Estus Flask and Undead Asylum F2 East Key. The Estus Flask is an essential part of Dark Souls. You can press the item button (square on PlayStation) to consume one Estus Flask to heal some amount of damage. You have a limited amount, and they restore when you rest at Bonfires. Continue up the stairs and open the locked door. The 100 souls you get on the way out are from Oscar as he passes. Take a left after the tunnel and be prepared for the two knife-wielding Hollows and archer. Take them out, and heal if you need to. From here, you have the option to continue past the fog wall and enter a room that teaches you to parry and riposte, a difficult timing skill in which you parry the enemy's attack right before it hits you (L2 on PlayStation) and then immediately attack (R1 on PlayStation) once you hear the unique sound effect. However, this is quite difficult, and the enemy is strong, so I don't recommend it. Instead, read the orange text and travel through the fog wall.
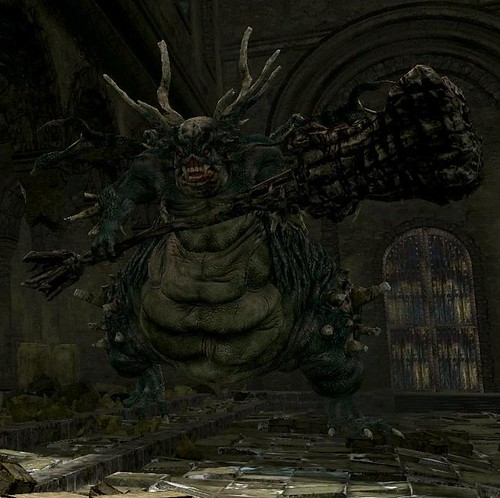
Boss: Asylum Demon
The Demon will look up at you as you enter. Immediately, throw yourself off the ledge and press R1 as you fall to execute a devastating plunging attack. If you wait too long, the Demon will jump up to the ledge and attack you. From there, the Asylum Demon has four attacks. I'll cover them and how to counter them. Hammer Drive: The Demon will raise its hammer vertically and then slam it down. Try to get out of the way, ideally behind the Demon, as soon as you see this happening. Long Range Hammer: If you get too far away, the Demon will raise its hammer above its head and launch a long-range attack at you. Practice dodging at just the right time. Sweep: The Demon will pull its hammer to one side and sweep in front of it. Try to get behind it when this happens. Ground Pound: The Demon will float up into the air three times, then crash down. Try to run away from it when this happens. Once you've defeated the Asylum Demon, you'll receive the Big Pilgrim's key. Congrats, the hard part's over! Open the large doors and walk outside. Continue up towards the top of the cliff. There's a bird's nest a bit off to the right - check out my other guide, Dark Souls 1: 10 Essential Tips for your First Playthrough, to find out more about it. Go to the ledge and watch the cutscene. Congratulations, you've escaped the Northern Undead Asylum!
Thanks for navigating this hellish world with my guide, and I hope it made it even the littlest bit easier. I'll release another guide soon, so keep your eyes peeled!
In the Firelink Shrine bonfire, you can level up - see Dark Souls 1: 10 Essential Tips for your First Playthrough for more on that. (Please feel free to leave all feedback in the comments, I appreciate it!)
Comments
Sign in to leave a comment.
Enjoying this guide? Sign up free to track your progress and earn XP.
Sign Up Free